Whether you’re buying pearl jewelry or verifying a collection, knowing how to identify pearls is key to avoiding fakes and choosing quality pieces. Below are simple, actionable methods to distinguish real pearls (natural or cultured) from imitations, and assess their quality.
1. The “Tooth Test”: A Quick Initial Check
The tooth test is one of the easiest ways to start. Gently rub the pearl against the front of your teeth (near the gumline, where sensitivity is high). Real pearls will feel slightly gritty or rough, like fine sandpaper—this comes from the layered nacre structure. Imitations (often made of glass, plastic, or resin coated with pearlescent paint) feel smooth, slippery, or even waxy. Note: Be gentle—too much pressure can scratch delicate pearls.
2. Weight and Temperature: Subtle Clues
Real pearls have a denser, more substantial weight than most imitations. Hold a real pearl and a fake one of similar size: the real one will feel heavier in your hand.
Temperature also matters. Real pearls absorb body heat slowly, so they feel cool to the touch at first. Imitations (especially plastic or glass) warm up quickly, matching your skin temperature within seconds.
3. Luster and Nacre: The “Glow” Test
Luster is a real pearl’s most defining trait—and a major fake giveaway. Real pearls have a deep, layered glow: when you tilt them, you’ll see soft overtones (like pink, blue, or silver) beneath the surface. This is because light reflects through the thin nacre layers.
Imitations have a flat, one-dimensional shine—more like paint than a natural glow. For cultured pearls, check nacre thickness: hold the pearl against a bright light. Thin nacre (less than 0.3mm) looks translucent or has a “see-through” spot (from the nucleus inside), while thick nacre (0.5mm+) has a rich, opaque glow.
4. Surface Blemishes: A Sign of Authenticity
Perfectly smooth pearls are rare in nature. Real pearls often have tiny surface flaws: small dots, faint lines, or slight irregularities (called “birthmarks”). These aren’t defects—they’re proof of natural growth.
Imitations, by contrast, are usually uniformly smooth. Even “fake blemishes” (added to mimic real pearls) look forced or uneven, not organic.
5. Drill Holes: Check the Edges
Most pearl jewelry has drilled holes for stringing. Real pearls have clean, sharp hole edges with a slight “ridge” of nacre around the opening. If you look closely, you might see faint nacre layers inside the hole.
Imitations often have rough, chipped hole edges, or the pearlescent coating peels near the hole. Plastic pearls may even have melted edges from drilling heat.
6. The “Float Test” for Imitations
Fill a glass with cold water and add 2–3 tablespoons of salt. Stir until dissolved. Real pearls (dense) will sink to the bottom. Many plastic or resin fakes will float or hover in the middle—though glass fakes may also sink, so use this test with others.
7. Avoid Common Myths
Myth 1: “Real pearls always cost a fortune.” Cultured freshwater pearls are affordable but still real.
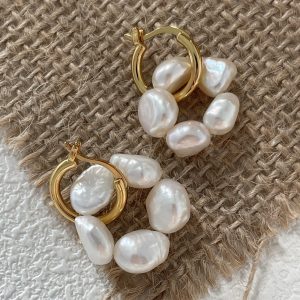
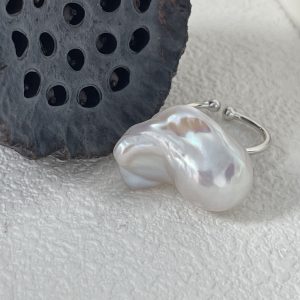
Myth 2: “Round pearls are the only real ones.” Baroque (irregular) real pearls are common—shape doesn’t equal authenticity.
Myth 3: “Scratching a pearl proves it’s real.” Scratching damages real pearls—stick to the tooth or luster tests instead.
Final Tip: When in Doubt, Ask for Certification
For high-value pearls (like South Sea or Tahitian), ask for a gemological certificate. Certificates confirm if pearls are natural/cultured, their origin, and nacre quality—removing guesswork.
In short, identifying pearls relies on combining simple tests: tooth feel, luster, weight, and surface details. With a little practice, you’ll spot real pearls (and quality ones) with confidence—whether shopping for everyday jewelry or a special piece.